Daysail disappearing 9 patch baby quilt

There are few quilts that are easier to take on than a disappearing nine patch.  So, over the weekend, I opened up my Daysail layer cake at last, and decided to get cracking on one.

Sometimes people say to me that they don’t like working with layer cakes because there is just too much colour in it for one project.  I understand that sentiment sometimes, but often find I get the best results when using a layer cake (or any other pre-cut for that matter) if I make a decision to only use a few of the colours in the pack, and save the rest for another project.  That way the few colours you choose to focus on get to shine, and the result is not so overwhelming.

In this case, I decided to use the reds, navys, whites and aquas in the pack, and save the cream, green and teal for another day.

Here’s the method:

1.  Cut layer cake slices into 4 x 5″ patches.  I cut 21 slices (sometimes in bulk by stacking a few of them up) to make a quilt that will be 6 blocks by 6 blocks (about 41″ square finished size).

2.  Arrange the patches into sets of 9.  I like to choose one colour that will always be the centre block in these arrangements.  You’ll see why soon.  For this project, I chose red to be the centre patch.

July 2015 033

3.  Sew these blocks together, to form a 9-patch block.  Use a 1/4″ seam and press each row in the opposite direction so that the seams nest as you join the rows of the block together

4.  After a good press, lay your 9-patch on your cutting mat.  You need to measure carefully the centre lines of the block, both vertically and horizontally.  I’ve marked approximately the lines you need to locate in yellow on the picture below.  Where to cut5.  Cut the 9-patch block into 4 smaller blocks, along the yellow lines that you have measured.  Be as accurate as is possible!

6.  You should now have 4 small patches, each with one large square, one small (in my case, red) square and two rectangles.  Trim these so that they are of identical size.  I trimmed them all to 6 3/4″ square.

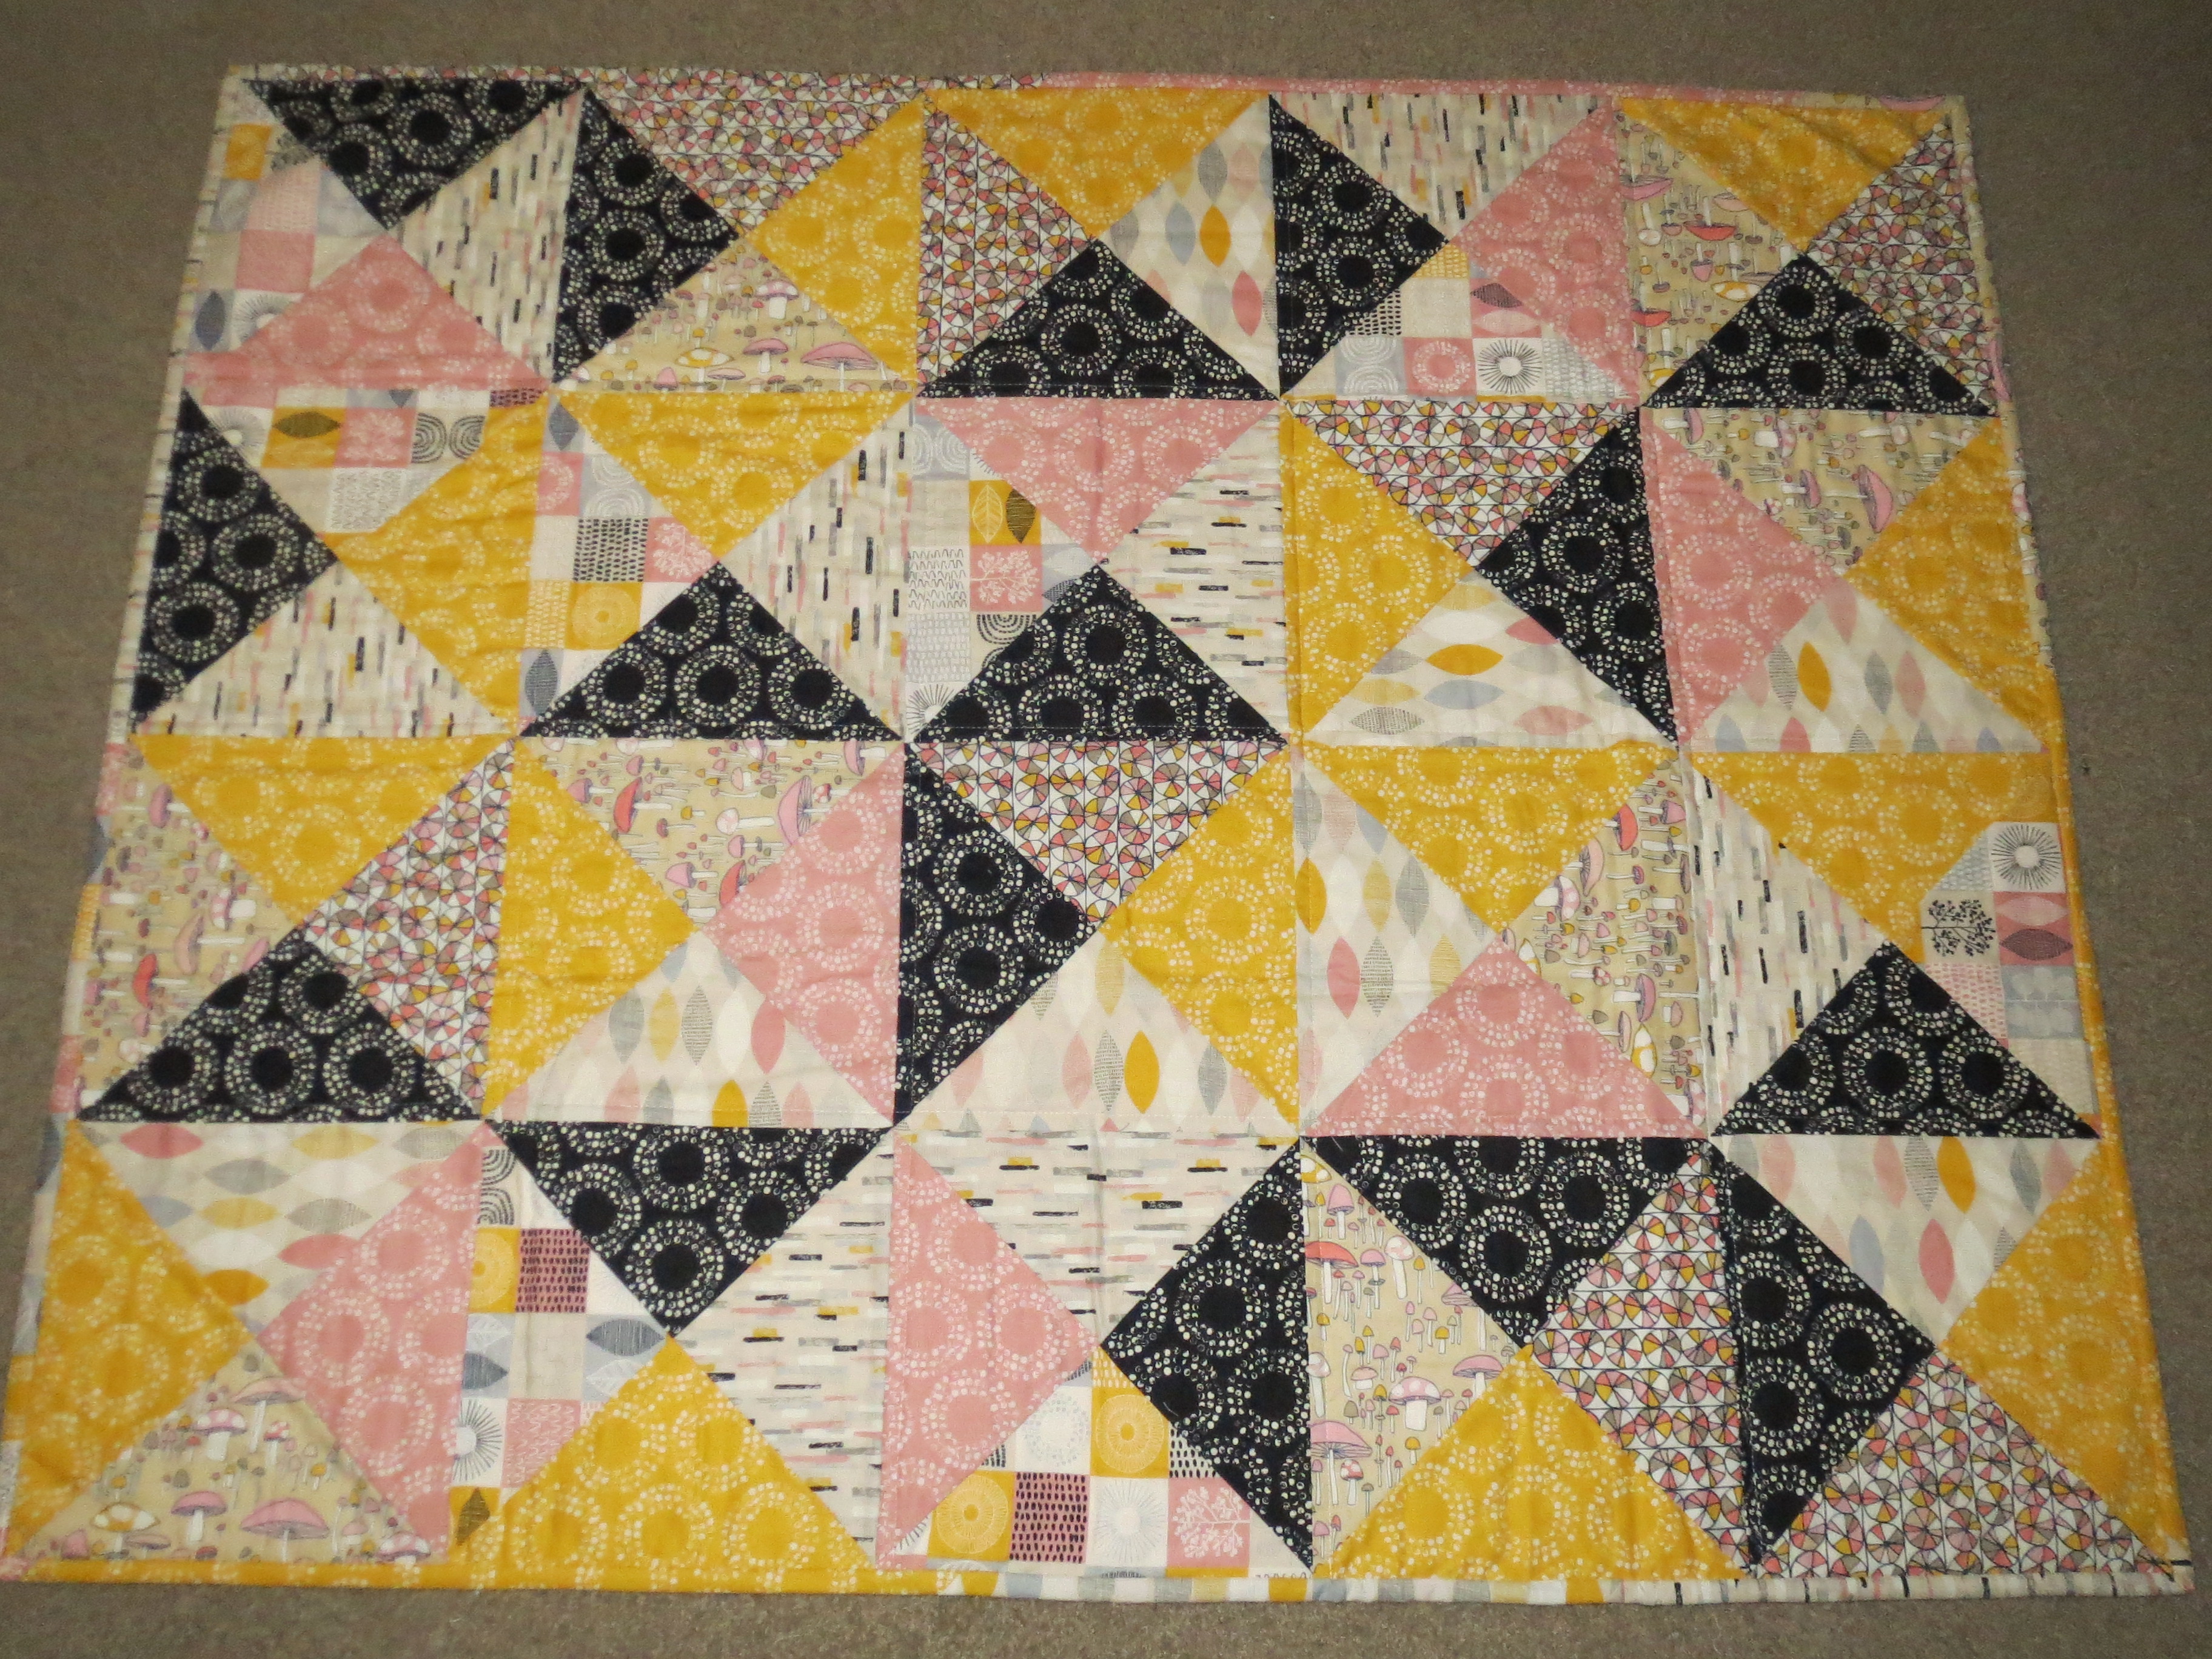
7.  Lay out your patches into the arrangement for the quilt.  Here’s an example of how you can lay it out, but there is plenty of room for improvisation and experimentation here!  I try not to over-think it.  In my view, some imperfection is desirable, but each to their own.

July 2015 042

8.  As you can see, when you choose a single colour for the centre of the 9 patch block, it ends up becoming a common thread in the finished design that brings the whole quilt together.  I think it can make an otherwise messy/scrappy design look orderly enough to be pleasing to the eye.

8.  Sew together your small blocks into rows.  Press the seams in opposite directions.

9.  Join your rows together, matching the points where the blocks meet and locking the seams (by having them pressed into opposite directions).

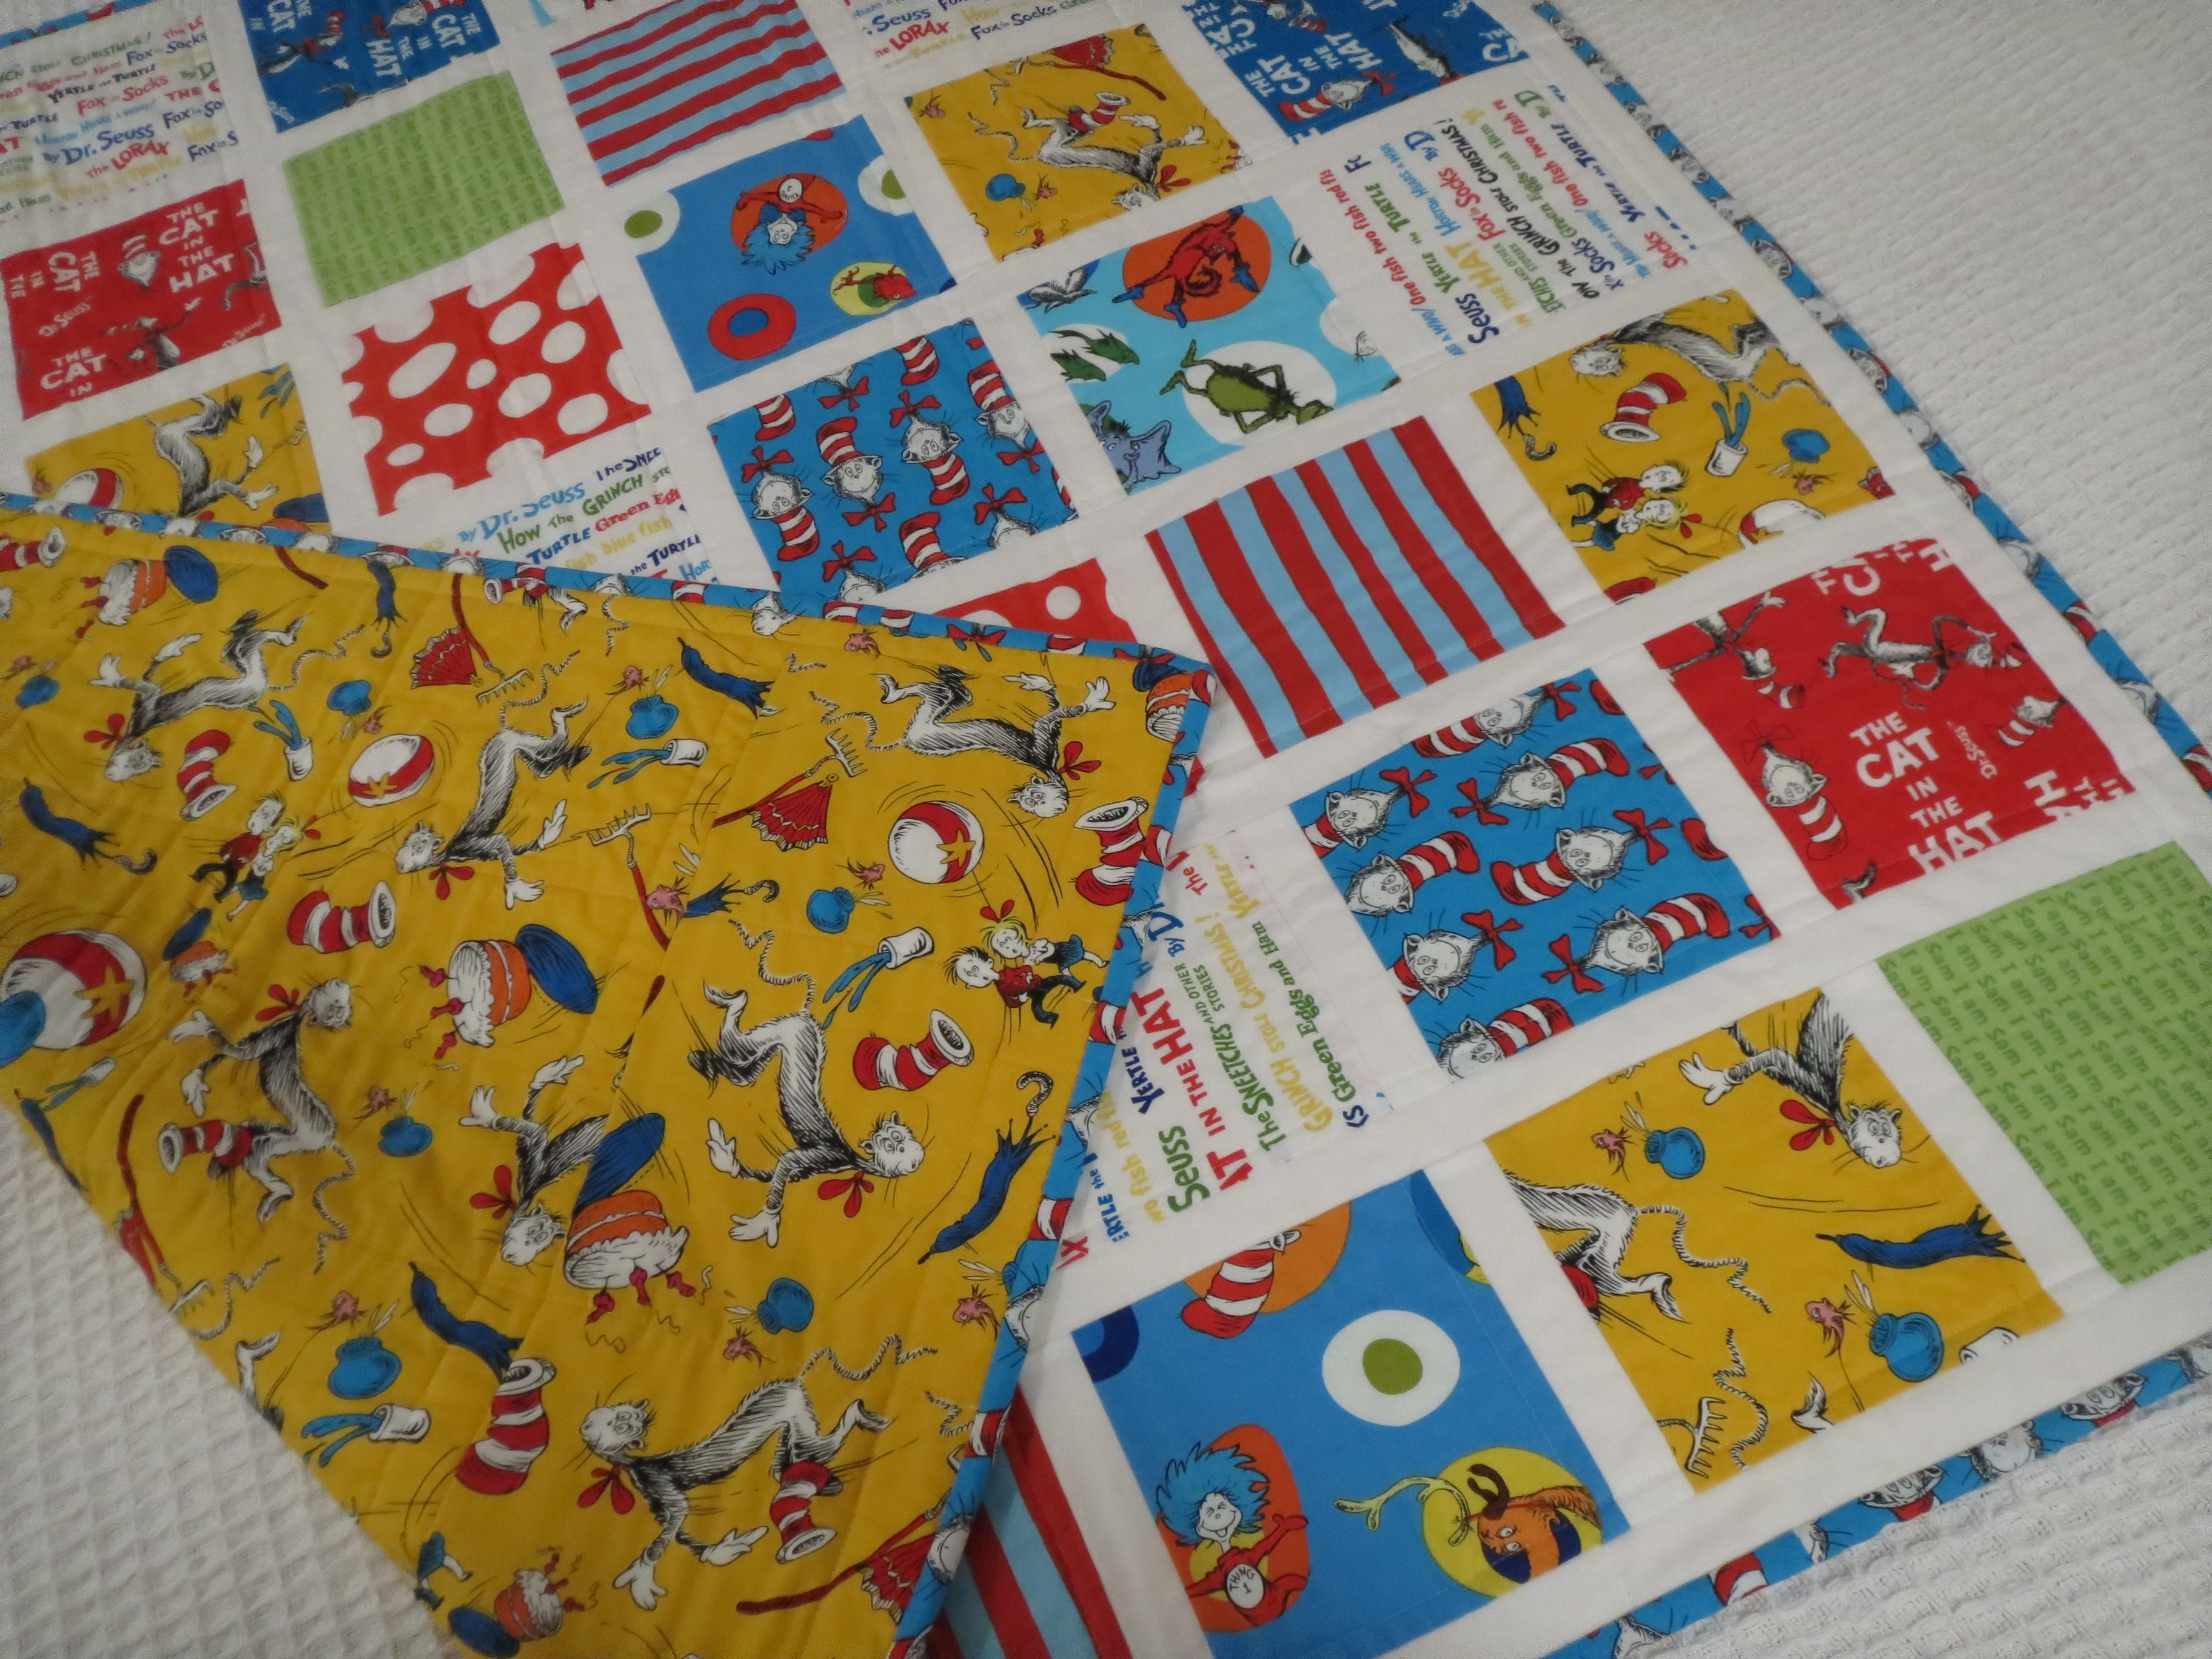
10.  Give your masterpiece a good press, cut some backing and wadding to size, baste, quilt and bind!

Enjoy this fun, easy project.

jf

At last! Spell it with Moda quilt top is complete

July 2015 032

It’s probably been the slowest project I have ever taken on… but at last the Spell it with Moda alphabet quilt top is ready to finish.

Hooray!

I’m so happy with a few decisions I made along the way: to omit the picture blocks that were slotted in irregularly to even out the size (I just used white panels at the end of the rows and centred the letters instead) and to add a really bright border made from the scraps of the piecing of the letters.  I think the border really makes it pop!

I’ve used a mix of all of the Bonnie and Camille bits and pieces I have accumulated over recent years, in an effort to tidy up my fabric stash.  There’s Marmalade, Scrumptious, April Showers and Happy-Go-Lucky in there, each contrasted with the white Bella Solid.

This will be hung on my little girl’s bedroom wall.  I hope she loves it as much as I do.

Have a great day.

jf

Bedlinen for doll’s furniture

My little girl is into dolls all of a sudden.  I bought her a little doll bed from Ikea, but the linen that came with it was… awful.  So, I dug out some scraps and decided to make something better for her.

July 2015 061

I rustled up some leftover April Showers (and probably some other Bonnie and Camille bits and pieces) and printed out from the internet some hexagon templates onto thicker paper.

I cut out the hexagons carefully, then used an EPP glue stick to baste the fabric on to the hexagons.

Then I set to work at joining the hexagons.  The little pillow came together very quickly, as did the mattress, but the doll’s quilt took a bit longer.  I think there’s probably about two weeks worth of short TV shows in there (to be fair, I sew small stitches and don’t watch a lot of TV 🙂 ).

July 2015 062

Last night I put the quilt top together with some wadding and backing (matching the mattress and the back of the pillow – also from April Showers)  and when my little girl woke up this morning there was a nice surprise for her.

She loved it!  So do I… and I love that I am teaching her that the best toys are handmade.  Now she can get back to her favourite game, which consists of feeding, putting to bed, putting on nappies and clothes, and toilet training one poor harangued doll.  If that poor doll could speak!

Since the favourite doll was in bed with little miss, these three got tucked in for the first snooze in the new linen.  They seem pretty happy about it!

July 2015 063

The great thing about working with paper pieces is that you don’t need a pattern or a fixed design, you can work it out as you go, adding another row here or there as you like.

Have a great day.

jf

Restoring old garden furniture using Annie Sloan’s chalk paint

I’m sure most people have seen, or even have owned, a set of cast-iron (or aluminium, depending on their age) garden furniture a bit like this.  It’s not in vogue at the moment, but I really like old-style furniture, and it suits my Queenslander home.

Mary and Grandpa at the fair 21 06 15 028

My mum noticed a set of 4 of these chairs and a table (in terrible condition!) at a garage sale near her home not long ago.  She snapped them up ($40 for the lot! Bargain!) and I have been very slowly doing them up so that they can go either on my front porch or into my garden.

This weekend, I knocked over chair number 3.  The photo above shows the restored chair on the left, and the remaining one which is untouched on the right.  In fact, the photos don’t really show the full extent of the contrast.  The restored chair looks amazing compared with its former self.

Mary and Grandpa at the fair 21 06 15 030

Before restoration

Mary and Grandpa at the fair 21 06 15 033

After restoration

Annie Sloan’s chalk paint is not all that easy to get (Bunnings doesn’t keep it, for instance) and it is a bit more expensive than ordinary paint.  It is worth the trouble to find it and the extra money because:

– it doesn’t require the stripping of the old paint (all you need to do is ensure the surface is clean and remove any loose flakes of paint)

– It is pretty safe:  there aren’t nasty fumes to worry about, so I can paint despite being pregnant and having a little one running around me while I work

– It is really easy to use

– It washes up in warm water

When you factor in the money and time saved when you don’t have to strip the old paint, prime it or varnish, it’s a good deal, in my view.

Before restoration

Before restoration

Mary and Grandpa at the fair 21 06 15 032

After restoration

I really like the white, but the paints come in a range of colours (most of which I think would look better diluted with white, but that might just be my preferences showing through).

If you are using the paint on indoor furniture, it also has a wax finish that seals it in (I’ll show you this in a future post).  However, the Queensland sun is just too strong for it, and you don’t need it in the outdoors, so it is better to just go without it.  I’m told the really high summer temperatures we get can melt the wax right off outdoor furniture!  It’s much better to keep the wax indoors.

The paint is the perfect surface if you want to try and distress the finish.  I don’t plan to do that with my outdoor setting.

Mary and Grandpa at the fair 21 06 15 029

The original condition is on the left, the restored chair is on the right. The back of the chair wasn’t as bad as the front, so the contrast between the before and after isn’t quite as stark!

Anyway, if you are the kind of person who would prefer to fix something up than throw it away, consider restoring using Annie Sloan’s chalk paint.  It’s easy, hardy and gives a nice new lease on life for well-built classics like this outdoor setting.

I’m one chair and a table away from a brand-new setting for my home.  It has been such an enjoyable project so far.

If you are looking for the paints, you can get them from Paint Me White in Brisbane (Woolloongabba) or on the Gold Coast (Mudgeeraba).

Have a great day!

jf

Paper dolls bakery 16″ softie doll

I’m not experienced with making toys.  I’ve made a number of EPP balls with a bell inside for babies, but that is about it.  Until last night!

In the space of about a half hour, I took the paper dolls bakery softie panel produced by Sibling Arts Studio for Penny Rose Fabrics from start to finish.  It was really easy, I could hand sew it closed while I watched telly with my husband, and importantly, my little girl loves it.

Dolly June 2015 004

It really was just a matter of cutting out the panels, putting the front and back sides together (pretty sides inwards) and straight stitching around the edge, leaving a hole for stuffing.  I also zig-zagged around the raw edges to prevent fraying – overlocking would be better but I don’t have an overlocker 🙂

Dolly June 2015 006

Some soft toy fill pressed in, and hand sewing of the hole to close it up, and voila!  I might have over-filled her a little but I figure that toys compress a little over time.

I’ll confess my husband doesn’t love it (he thinks dolly has a piggy nose), but I think it has a nice simplicity and a sweet vintage feel.  Plus, I want my little girl to love simple, home made toys rather than piles of plastic, disposable junk from stores.  The fact that she won’t stop cuddling it has to be a good sign!  She was very quickly named Abby by my little one.

Have a great day.

jf

Scandinavian style baby quilt

On mother’s day in early May, I had a little more time than usual in the sewing room.  It was my request for the day – so much better than breakfast in bed!

June 2015 060

I took the chance to make a quilt top for a friend of mine who is a new mother.  Her daughter arrived 4 weeks early, and so I didn’t quite have the gift ready for little miss’ arrival.  Nevertheless, it is complete now, and I thought I would share with you some photos.

June 2015 059

I didn’t use a pattern for this quilt, but I gave a description of how to make it in this post.

June 2015 061

I decided to back the quilt in flannelette, because it is winter here and nothing is more snuggly.  That way, the quilt has a cool side and a warm side, so that it can be used year-round.

June 2015 057

I had picked up the fabric for the front at a quilter’s fair earlier in the year, and it is by Cloud 9.  The backing is a Moda fabric which, despite being from a fairy-tale styled range, coordinates well with the pinks and creams on the quilt top.  I used all of the scraps from the fabrics I used on the top to make a scrappy binding, and so there was less than one fat quarter’s worth of waste for the whole quilt.  That made me especially happy!

My Mum, who so often helps me with the hand-sewing part of binding, did it again on this quilt.  Thanks Mum 🙂  It means I was able to post the finished product to the recipient yesterday.  Now I have the anticipation of waiting for the recipient’s reaction… one of the parts of giving quilts I enjoy most.

Have a great day, all.

jf

Another Dr Seuss colourway

A few weeks ago I posted a quick and easy baby quilt made from Dr Seuss 6″ squares.  You can see that post here if you missed it.

Here’s a second version of the quilt, made for another dear relative who is due to have her first baby in August.  I think I am even happier with this version!  It was another mother-daughter effort.

May 2015 027

It’s the same basic concept – same size coloured patches, same number of coloured patches, but this time there is a 1.5″ white sashing between each coloured patch.

May 2015 021

What is great about that is that it gives each of the bright colours a bit of space to shine – and a moment for the eye to focus on each one before the next colour hits the eye.

May 2015 023

Backed in yellow Dr Seuss fabric that is nice and busy, it is bright and practical without being overwhelming.  The binding is a blue fabric with the head of The Cat in the Hat all over it.

May 2015 024

I hope it is well received!  I put it in the post for the lucky recipient on Friday, so it won’t be long until it adorns the nursery in its new home.  Now we just need that baby to arrive safely and enjoy it!

Have a great day,

jf


Mother’s day magic

I didn’t have a lot of requests for mother’s day.  My little girl is too small to make me breakfast in bed (in fact, a whole night of sleep would be a big enough win in my book… and I didn’t get that!) and so my one wish was for some sewing time.  My mother’s day wish came true!

Here’s the product.  All done in a matter of about 3 hours, this quilt top:

IMG_1822

It was made without a pattern, but was really very easy.  Here’s how it is done:

From 10 fat quarters, I cut 20 squares with 10″ sides.  Then I grouped the squares into 5 groups of 4 each, and I tried to mix up the patterns so that there was an even distribution of the more plain colours (yellow, pink and navy) among the patterned fabrics.

Then I took all of the 10″ squares and cut them down the diagonal to create triangles.  I sewed two contrasting triangles together, pressed them and then cut them in half along the other diagonal.

Then, I paired two of the resulting units together and sewed them along the long hypotenuse to make a square again, but now a square with 4 colours in each!

Then it was just a matter of laying the blocks out into 5 rows of 4, and joining it all together.

I sliced up the remainder of 8 of the fat quarters into 2.5″ strips, joined them together and have a scrappy binding ready for the final step of finishing this quilt.

It also means I have very little waste… just the scraps of two fat quarters.  That makes me really happy!

This will be a gift for a friend of mine who has just had a little baby girl.  I hope that she will love it.  It might seem odd to have spent mother’s day sewing for someone else, but the pleasure for me is in the making, and honouring a new mother is so much fun.  Plus, as I sewed I had a nice big pot of tea and listened to daggy musicals while my darling husband and daughter did the groceries.  Win-win.

While you can’t see it in the picture, the backing I have laid it out with is a brushed cotton (flannelette) pink fabric with clouds all over it… a Kate and Birdie fabric for Moda.  The fabrics on the quilt top are ones I picked up from the last quilt show I attended, and they are from Cloud 9 (though I can’t tell you much more about them than that!).  They’ve got a nice Scandinavian flavour that is an unusual colour combination for me.  It’s always nice to make something that’s a bit different.

The flanny backing should make it extra snuggly, while the top can be a cooler side for summer and for tummy time.

I can’t wait to get home and baste!

Have a great day,

jf


Snuggly baby blankets

Soooo… the weather is getting cooler here, and so I am getting the urge to work with flannelette again.  Luckily, there are lots of babies arriving too, so I have a great excuse to make some more self-binding baby blankets.

April 2015 034

If you want to know exactly how to make them, check out this old post of mine.

April 2015 033

They can be whipped up in about 1/2 hr to an hour (depending on how fast a sewer you are…), I confess that I always find that cutting the fabric is the part that takes me the longest of all.

April 2015 038

The hardest part now… is prising the finishing product away from my own little girl, so that I can give it away.  Of course, it’s just an excuse to make one more!  Once she felt how snuggly the material was, it was really hard to get her to let go.  I can’t blame her, I suppose.  I’m just as bad!

April 2015 035

Have a great day!

jf

Dr Seuss baby quilt

I loved Dr Seuss as a child, and as an adult have been really enjoying sharing his stories with my own child.  Having access to the fabric also means I can use the opportunity of a baby quilt to share it with other families!

My cousin will have her first child next month.  It’s all very exciting.  So, my mum and I made her a Dr Seuss quilt.

April 2015 101

It’s only simple – a whole bunch of 6″ squares and single colour binding, but when the fabrics are this bright and busy, I think that’s the way to go.

April 2015 100

The backing is such lovely fabric that it is worth showing too!

April 2015 105

April 2015 104

Overall, I am thrilled with the result.  I know that my cousin will be too!  Little ones love the bright colours so much more than soft pastels.

April 2015 107

Have a great day!

jf